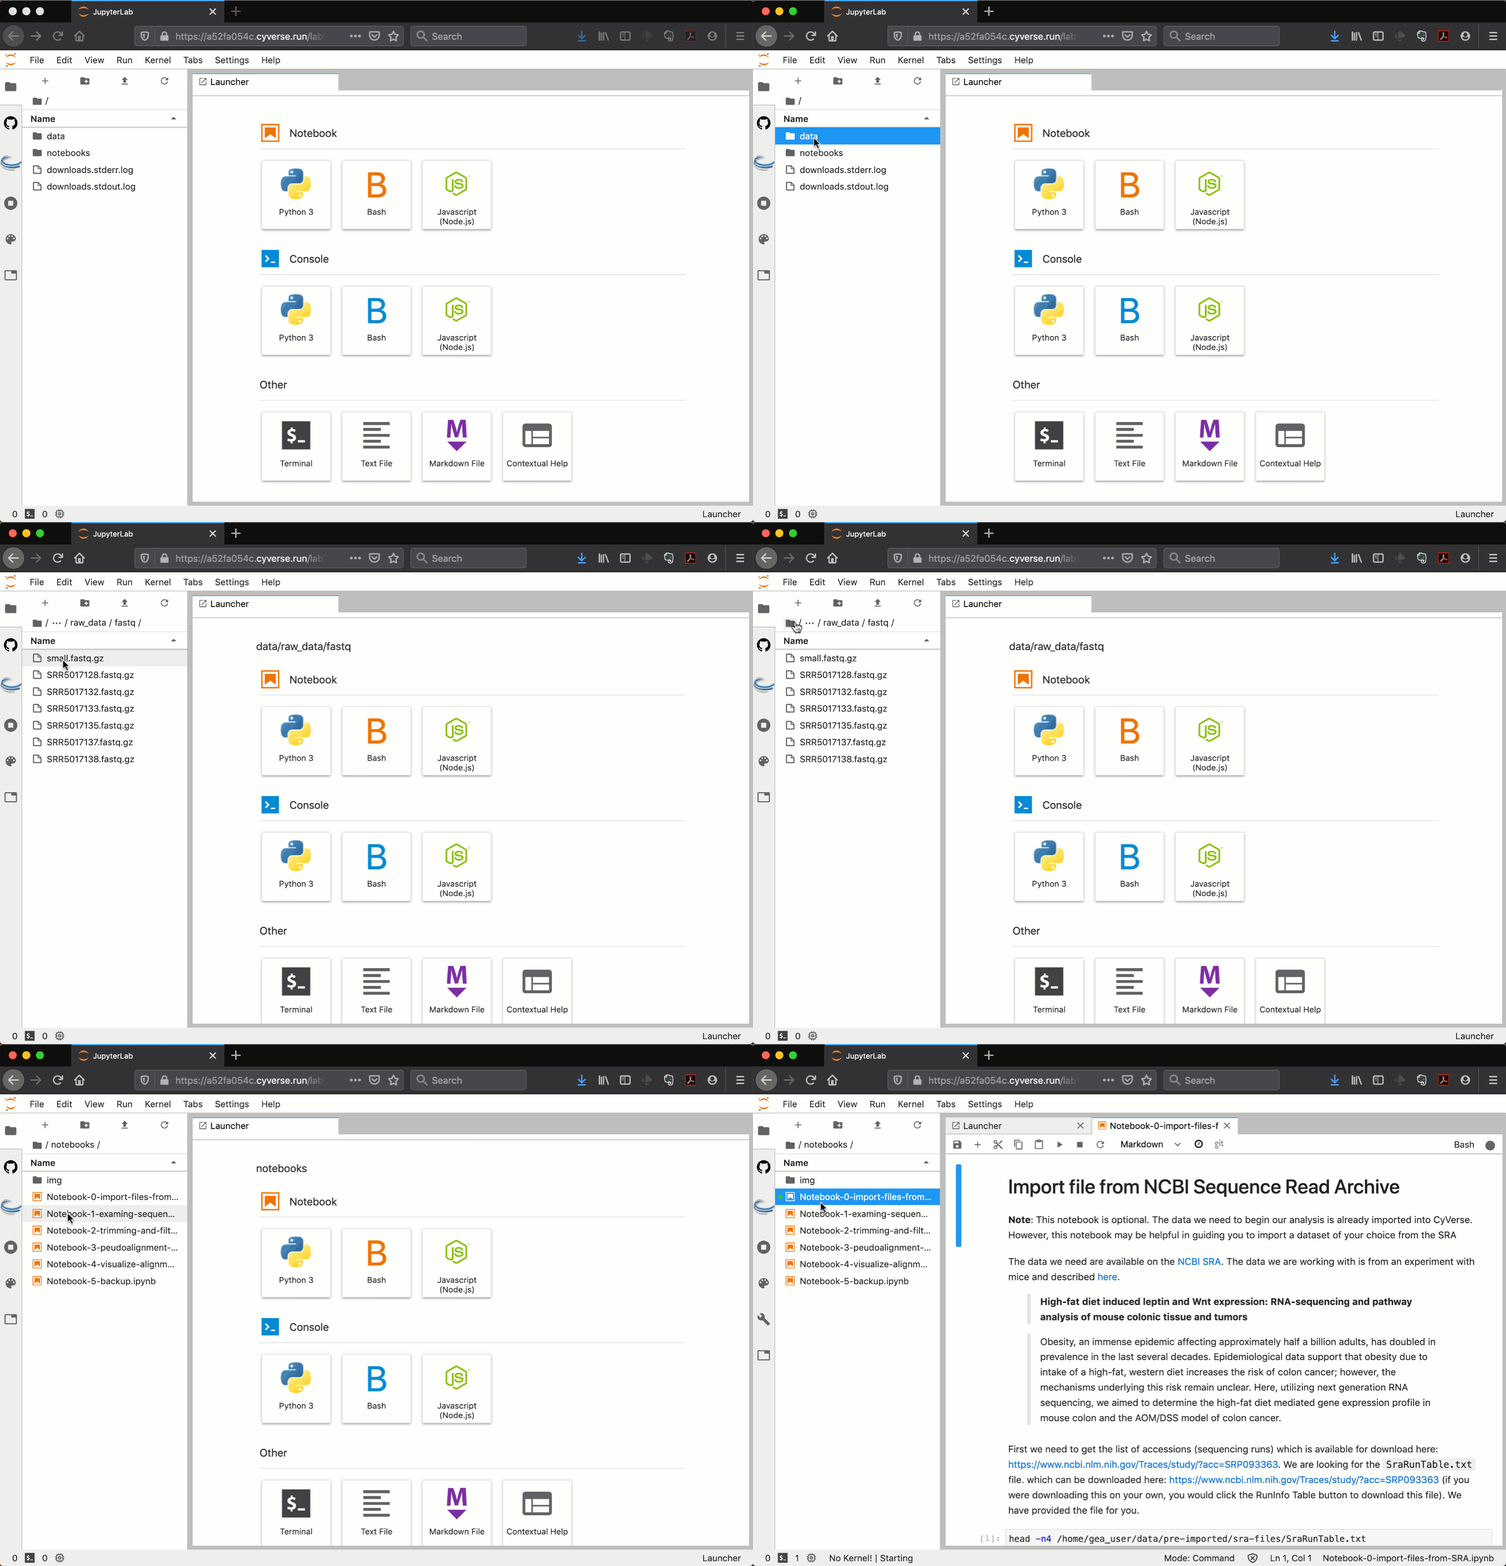
JupyterLab primer
learning-objectives
- Understand how to navigate JupyterLab
- Understand how to use a Jupyter notebook
- Understand how to edit a Jupyter notebook
- Access the command line using JupyterLab
Intro to Jupyter and JupyterLab
Jupyter is an open source project that develops platforms for users to run code in a way that prioritizes effective communication. Instead of long lines of code (which often end up poorly documented), Jupyter platforms such as JupyterLab mixes blocks of explanatory text with code and visualizations.
Many people are used to using computers with a graphical interface (GUI, pronounced “gooey”), i.e. point-and-click interfaces. However, most scientific software usually has a command line interface - every instruction is in the form of written text. Although the command line can take time to learn, it is preferred by researchers because every command is documented and unambiguous.
Jupyter mixes GUI and command line by allowing you to see the commands needed to run software and the using a the GUI execute the command. Even if you don’t know command line you can start to understand how the software works, or even modify it.
This primer will teach you enough about Jupyter to complete the lesson using CyVerse (We will not cover setting up and instally JupyterLab). To learn more about Jupyter visit the Jupyter website and also see the full set of JupyterLab documentation.
Using the Launcher to Run and Edit Jupyter Notebooks
Jupyter Notebooks are documents that allow you to combine text, code, images, and other interactive objects. Tutorials will typically be made up of one or more notebooks (which have the .ipynb file extension). To show you how a notebook works, we will use the Launcher to create a notebook.
From the Launcher click Python 3 - this will launch a notebook enabling you to run code written in the Python language.
Tip
There is a launch button for other code languages your JupyterLab supports. Jupyter supports a wide variety of languages including Python, R, Julia, and others - though your specific installation may vary.
Everything done in a notebook is done in a cell. Cells can be code (some code you want to run) or Markdown - a form of HTML you can use to write text. Cells can also be Raw but we won’t address that here. A dropdown menu at the top of the notebook allows you to choose the type of cell you want.
To run some code, type the code into a code cell, and then press the play button to run the code.
To enter text, links, or images change the cell type to Markdown and use Markdown format to enter your text.
Note
In a tutorial, cells will often be pre-filled with code (or which you must complete!). Cells can be one one of three states:
Unrun Cells: If a cell has not been run, the brackets next to the cell will be empty.
Running Cells: If a cell is running, there will be an ‘*’ until the cell code completes. You can use the stop button at the top of the notebook to stop the execution of a cell.
Run Cells: Once a cell has been run, a number will appear. Every time a code cell is executed, the number displayed will increment up.
- You can edit any cell by rewriting the code or text in the cell. Click the disk/save icon or choose Save Notebook from the file menu to save your changes.
- Use the ‘+’ button at the top of the notebook to add more cells.
- Above the navigation panel press the ‘+’ button to get back to the Launcher.
Notebook Tips
Some additional tips for working with your notebooks:
There are a number of keyboard shortcuts you can use to add, delete, run cells:
- cntrl+enter : Run a cell
- b: New cell below
- dd (press ‘d’ twice): Delete cell
See the Edit menu for popular functions and shortcut keys
Right-clicking on a notebook in the navigation panel allows you to use some helpful functions including:
- Renaming a notebook
- Downloading a notebook
In the Kernel menu you can shutdown and restart a notebook which has stalled for some reason. Try Interrupt Kernel or Restart Kernel if your notebook freezes and no longer responds to commands.


